Capturing ingredients (photo vs upload)
Last updated: June 25, 2026
No barcode, or a product we don’t have yet? Snap or upload a photo of the ingredients list and GreenCheck will read it.
OverviewTwo ways to add a photoTake a clear photoUpload from your libraryWhat happens next
Overview
Some products don’t have a barcode, or aren’t in our database yet. You can still check them by capturing the ingredients list from the package.
Two ways to add a photo
When a barcode isn’t found, GreenCheck offers you a few choices. You can also switch to the Ingredients tab on the scanner at any time.
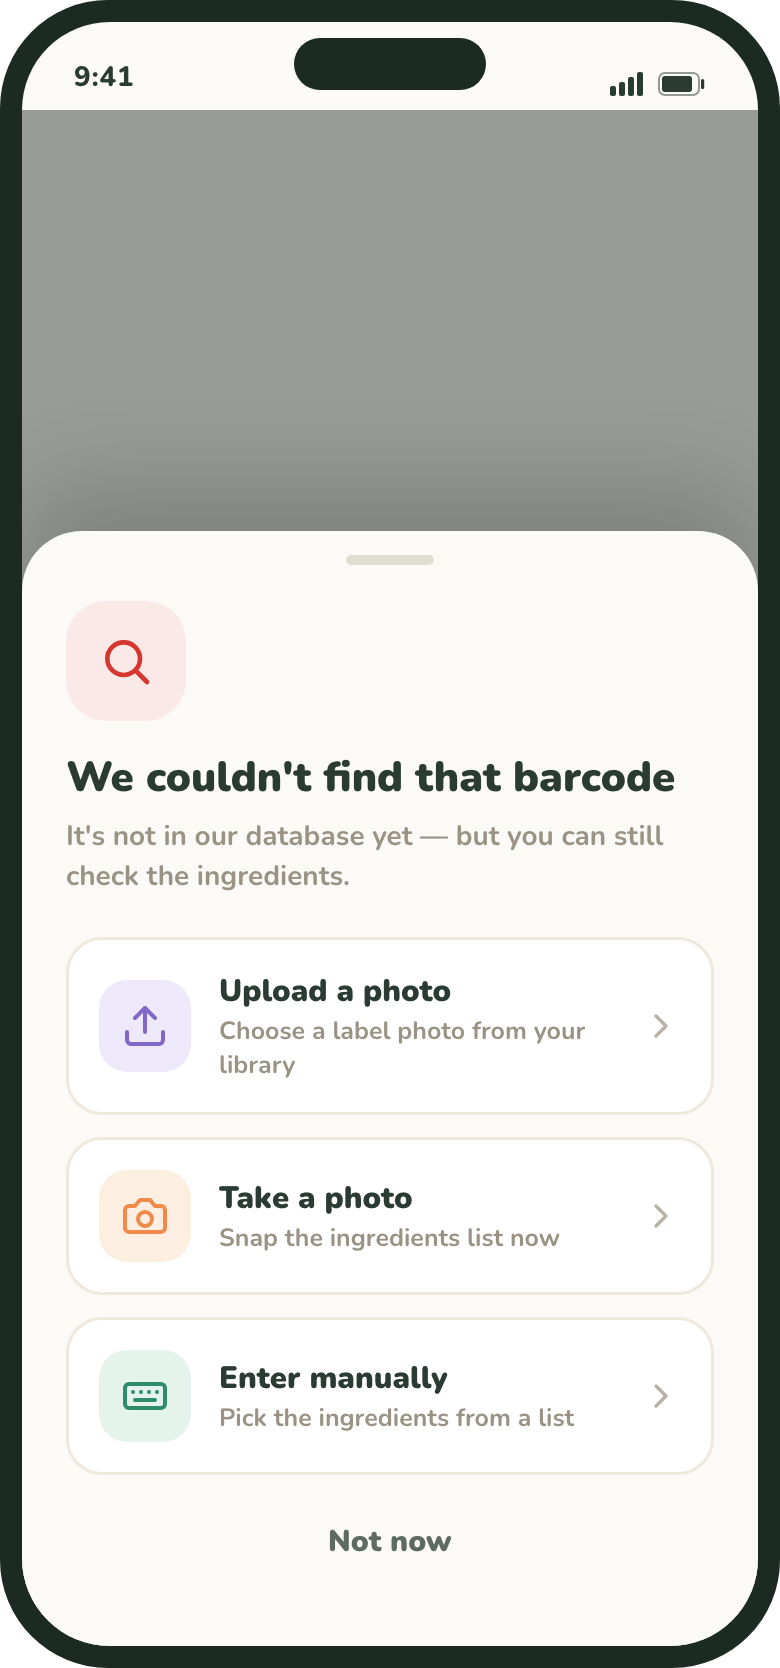
- Take a photo — snap the ingredients list right now.
- Upload a photo — choose a label photo you already have in your library.
- Enter manually — build the list by hand (see Manually entering ingredients).
Take a clear photo
- 1Switch to Ingredients (or tap “Take a photo”)On the scanner, tap the Ingredients tab to switch from barcode to photo mode.
- 2Fill the frame with the ingredients panelGet close enough that the text is sharp and the whole list is in view.
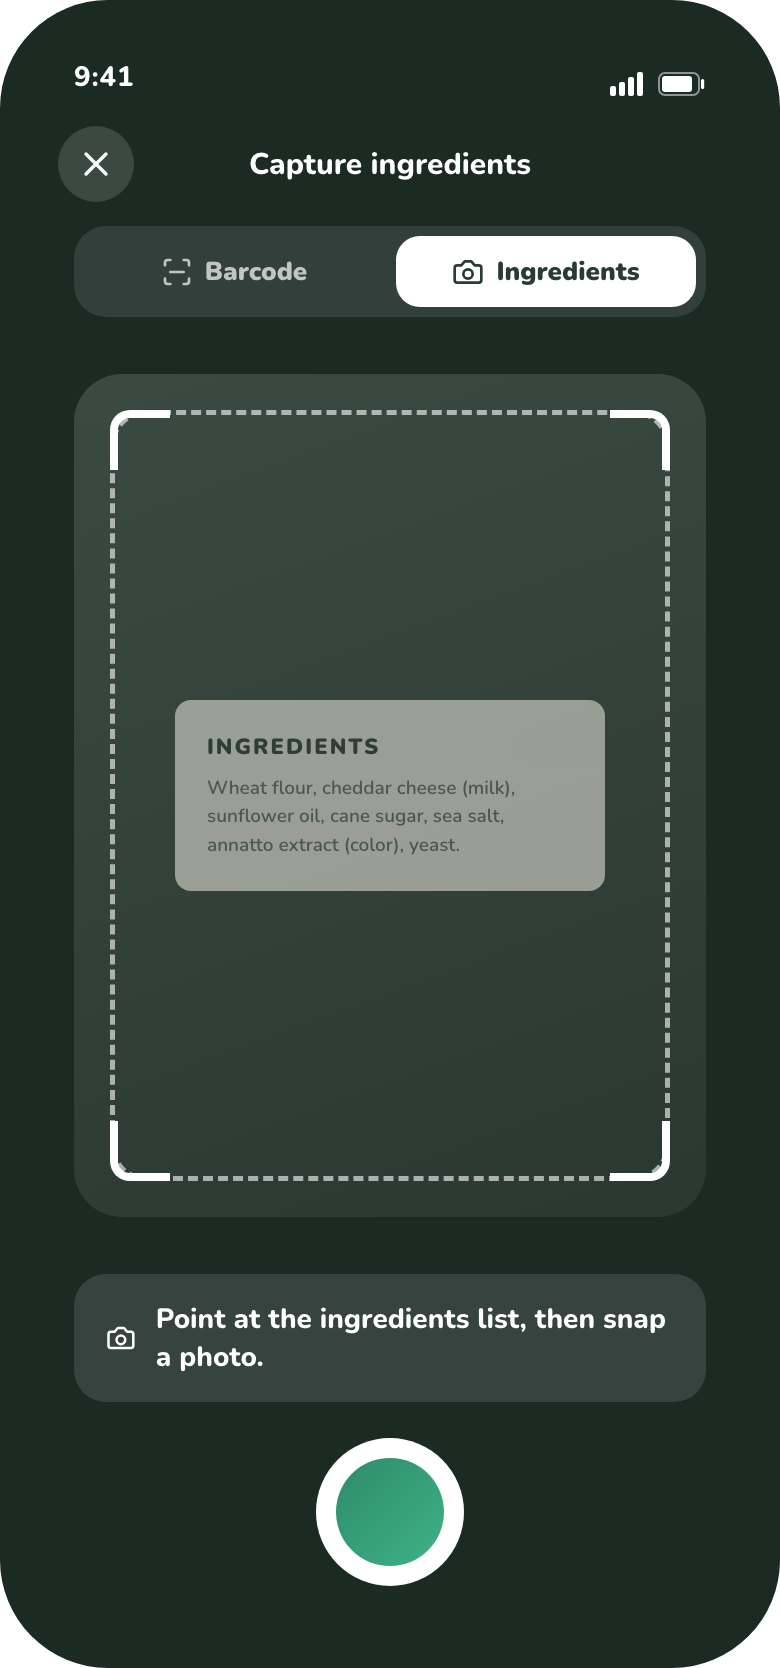
Frame the full ingredients list, then tap the shutter. - 3Tap the shutterPress the round shutter button to capture the photo.
Upload from your library
Already photographed the label? Tap Upload a photo and pick it from your library. GreenCheck reads the text from the image — same result as taking a new photo.
What happens next
GreenCheck reads the ingredients, analyzes them, and grades the product for each child — just like a barcode scan.
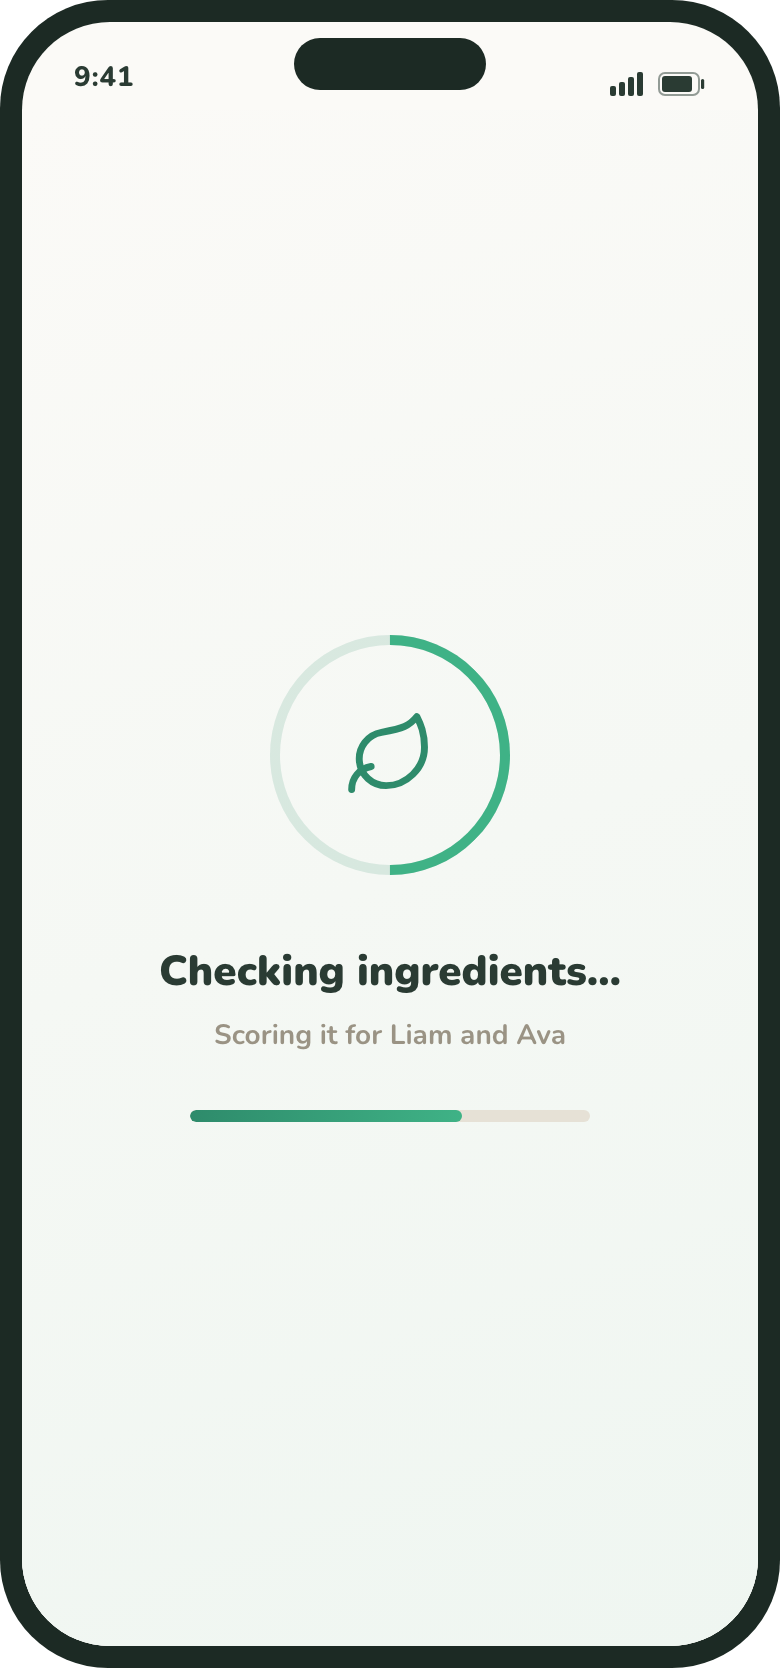
The product is saved to your history so you can find it again later. To understand the grade, see How scoring happens.